Use Standard Avalonia UI Templates to Create a New Project with Eremex Controls
The easiest way to create a new Avalonia UI project with Eremex controls is to use the Eremex Avalonia Templates. The current tutorial shows how to use the standard Avalonia UI Templates to create a new project from scratch.
1. Install the Avalonia UI Development Tools
Ensure that the Avalonia UI templates are installed on your system. The following article describes how to install these tools: Avalonia UI - Get Started.
2. Create a New Project
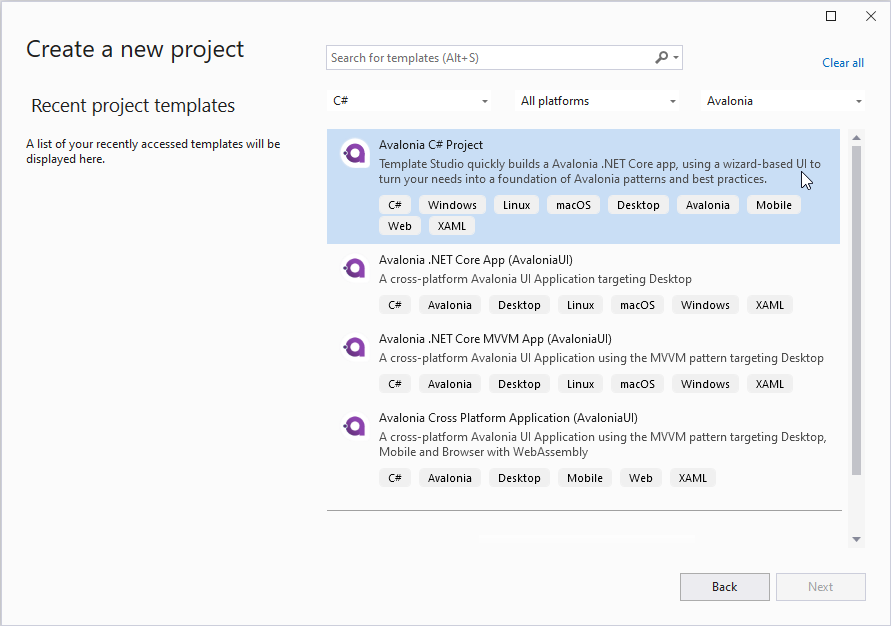
Run Visual Studio, and create a new desktop Avalonia UI project.
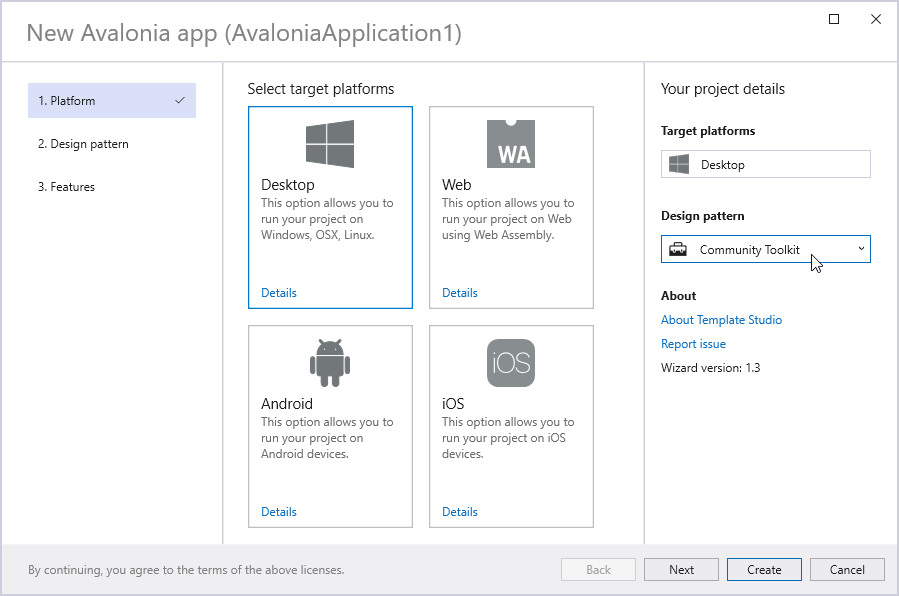
In the Avalonia application template wizard, select the Community Toolkit library to add the CommunityToolkit.Mvvm package to the project.
3. Set the Startup Project
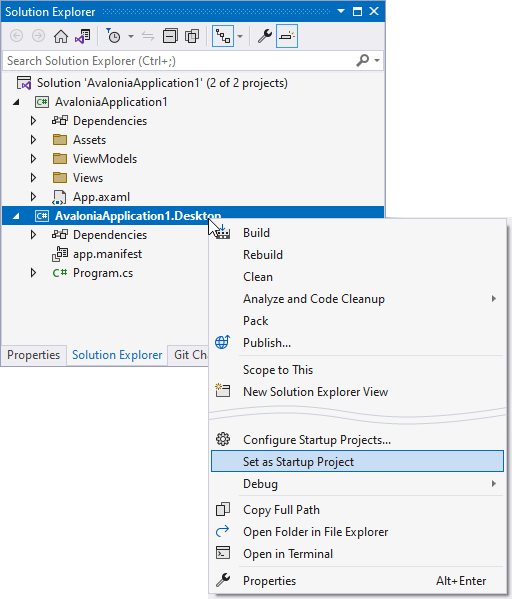
The created solution contains two projects - AvaloniaApplication1 and AvaloniaApplication1.Desktop. Ensure that AvaloniaApplication1.Desktop is set as the startup project.
4. Update Avalonia UI NuGet Packages
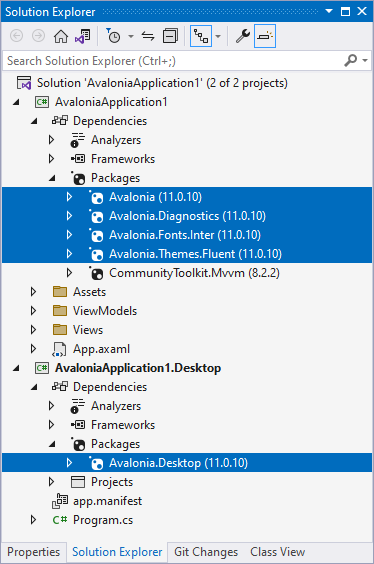
When required, update Avalonia UI NuGet packages in the AvaloniaApplication1 and AvaloniaApplication1.Desktop projects to a version supported by Eremex Avalonia UI Controls. See System Requirements.
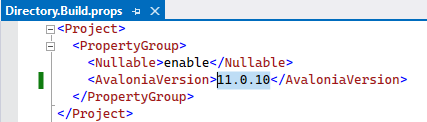
If the solution directory contains the Directory.Build.props file, make sure it defines the same version of Avalonia UI as the Avalonia NuGet packages.
5. Add the Eremex Avalonia UI Controls NuGet Packages
Add the Eremex.Avalonia.Controls NuGet package to the AvaloniaApplication1 project.
Also, add the Eremex.Avalonia.Themes.DeltaDesign NuGet package, which contains the DeltaDesign paint theme for the Eremex controls.
6. Register an Eremex Paint Theme
You need to register an Eremex paint theme to allow correct rendering of the Eremex controls. If no Eremex paint theme is registered, the controls are displayed blank.
Ensure that the Eremex.Avalonia.Themes.DeltaDesign NuGet package is added to the project. It contains the DeltaDesign paint theme, which you can register as follows:
Open the App.axaml file in the AvaloniaApplication1 project.
Add the following namespace to the Application object:
xmlns:theme="clr-namespace:Eremex.AvaloniaUI.Themes.DeltaDesign;assembly=Eremex.Avalonia.Themes.DeltaDesign"Include the
<theme:DeltaDesignTheme/>to theApplication.Stylescollection.<Application xmlns="https://github.com/avaloniaui" xmlns:x="http://schemas.microsoft.com/winfx/2006/xaml" x:Class="DemoCenter.App" xmlns:theme="clr-namespace:Eremex.AvaloniaUI.Themes.DeltaDesign;assembly=Eremex.Avalonia.Themes.DeltaDesign" RequestedThemeVariant="Light"> <!-- "Default" - The application's theme variant is defined by the system setting. "Light" - Enables the Light theme variant. "Dark" - Enables the Dark theme variant. --> <!-- .... --> <Application.Styles> <theme:DeltaDesignTheme/> <!-- .... --> </Application.Styles> </Application>
Choose the Light or Dark Theme Variant
The Application.RequestedThemeVariant property in the App.axaml file specifies the currently selected theme variant (light or dark). Set this property to the required value.
<Application
    RequestedThemeVariant="Default" ... >
    <!-- "Default" - The application's theme is defined by the system setting.
         "Light" - Enables the Light theme.
         "Dark" - Enables the Dark theme.
    -->
</Application>